Chatwoot is an open-source customer relationship platform built with Ruby and Vue.js. It was written from scratch to allow customer-relations teams to build end-to-end platforms for ticket management and support that also provide simple and elegant, real-time live chat for your websites, collaborates with other agents and messaging apps, and more. This means that you can integrate your chat on social networks like Facebook, Twitter, email, WhatsApp, and more in a central place. This will effectively help you keep an eye on all your platforms and respond to customer requests in real-time.
Chatwoot's Architecture
Chatwoot needs the following components to operate properly:
- Chatwoot web servers
- Chatwoot workers
- PostgreSQL database
- Redis
- Email service (e.g., SMTP, SendGrid, Mailgun)
- Object storage (e.g.,E2E Object Store (EOS), AWS S3, Azure, Google Cloud Storage, MinIO)
The Chatwoot server and workers are the core components that integrate with everything else. PostgreSQL and Redis are specific, required components.
Chatwoot Installation
Chatwoot is available on common platforms, including Linux virtual machines.
This article will help you to install Chatwoot on Ubuntu 20.04 LTS.
Steps to install Chatwoot
Step 1. Run the below command to download Chatwoot_Setup script
# wget https://raw.githubusercontent.com/chatwoot/chatwoot/master/deployment/setup_20.04.sh -O setup.sh
Please note, you can edit the setup.sh script as per your requirement.
Step 2. Execute the script, and it will take care of the initial Chatwoot setup.
# chmod 755 setup.sh
# ./setup.sh master
Step 3. Once a successful Chatwoot installation, you should see a message similar to the one below:
Woot! Woot!! Chatwoot server installation is complete
The server will be accessible at http://<server-ip>:3000
To configure a domain and SSL certificate, follow the guide at https://www.chatwoot.com/docs/deployment/deploy-chatwoot-in-linux-vm
Step 4. To Allow port 3000 on the Server, run the following command to allow through iptables
# iptables -A INPUT -p tcp --dport 3000 -j ACCEPT
# netfilter-persistent save
# netfilter-persistent reload
Step 5. Chatwoot Installation will now be accessible at http://{your_ip_address}:3000

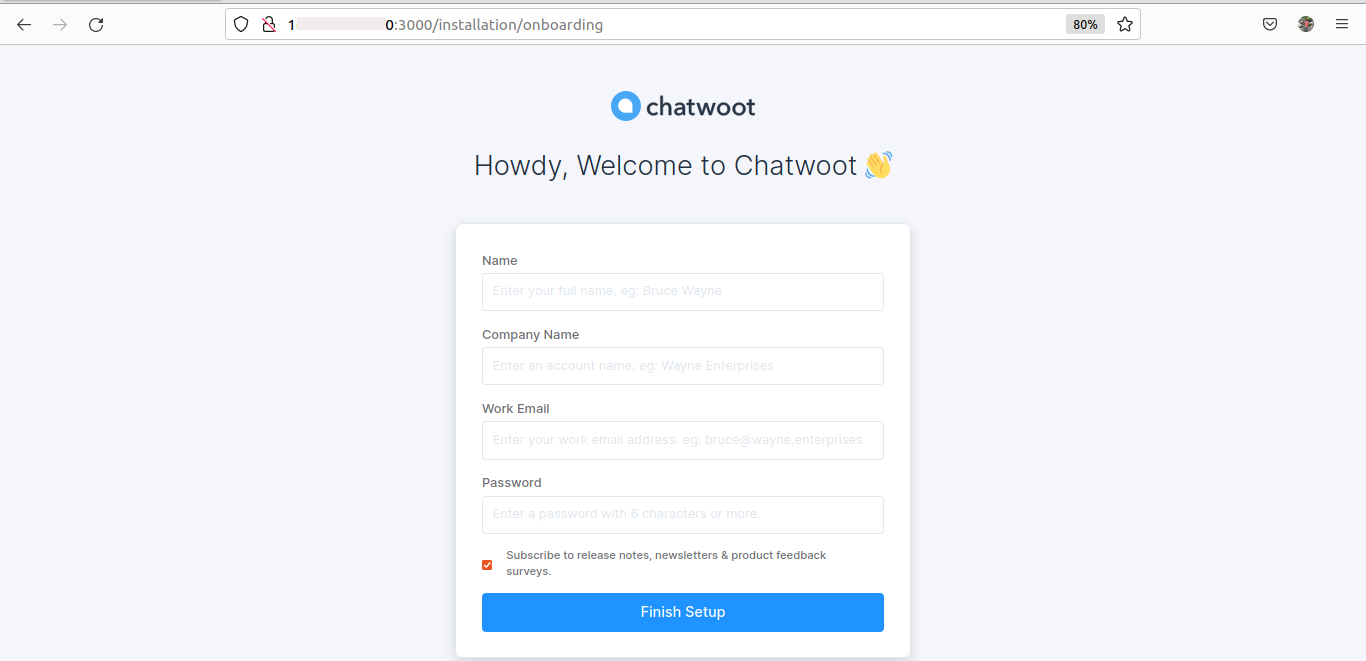
Step 6. Enter the details on Chatwoot’s welcome page to create the administrative user.

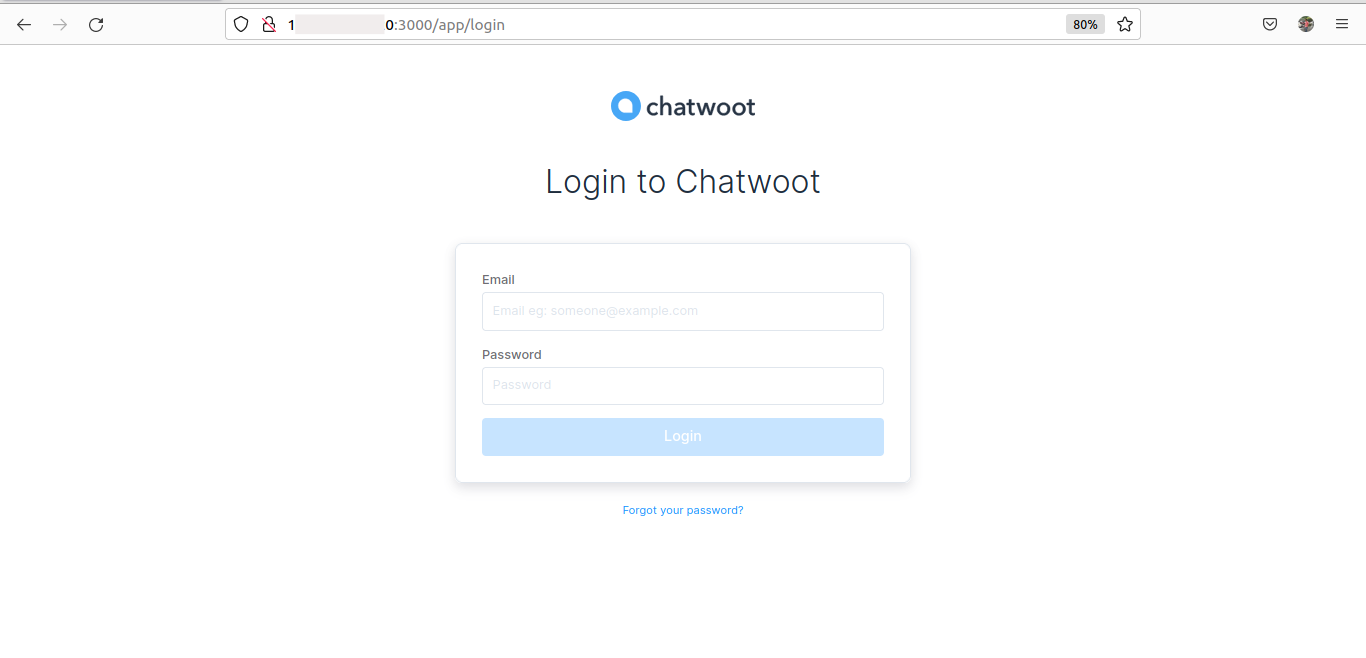
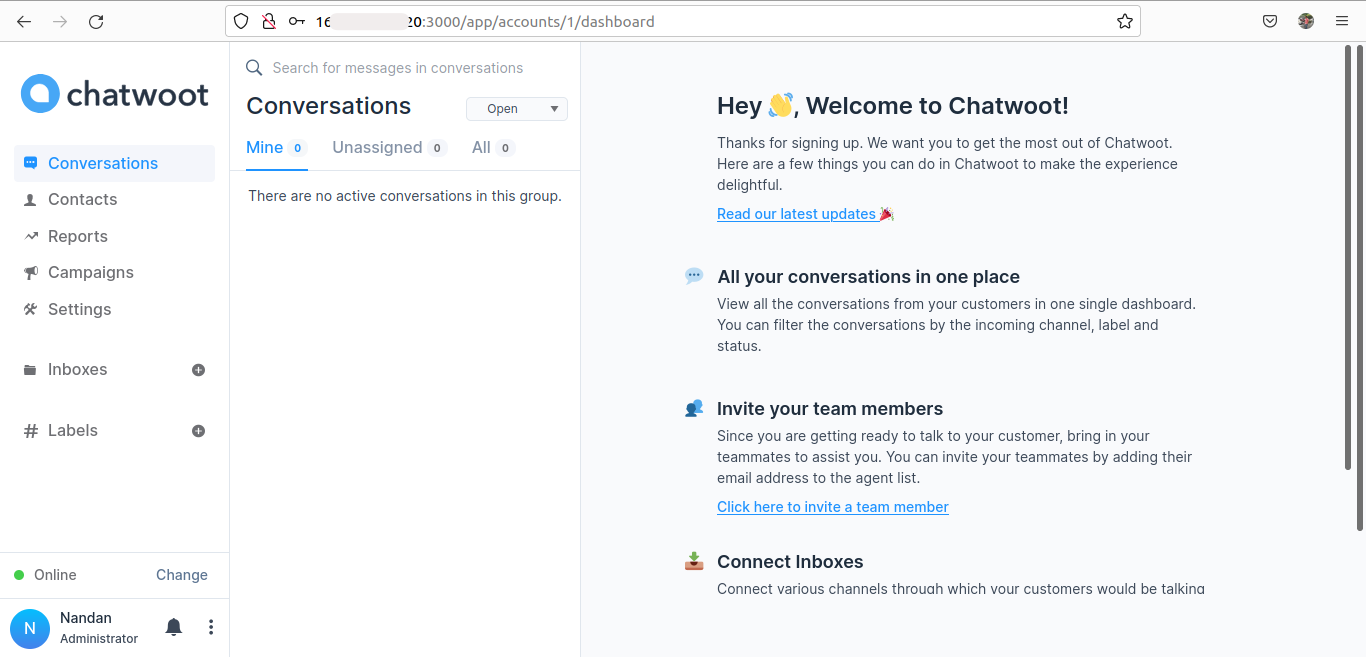
Step 7. Log in with the Registered Email ID and Password and Next, you should land on the Conversations page.

Step 8. Chatwoot Environment Configuration
First, you have to log in as Chatwoot user and edit environment variable file:
# sudo -i -u chatwoot
# cd chatwoot
# vim .env
Now you can refer Chatwoot variables page to add variable definitions in the file.
For example, to use the Facebook channel, you have to add the below lines in the .env file:
FB_VERIFY_TOKEN=
FB_APP_SECRET=
FB_APP_ID=
After making changes to Chatwoot environment file, run the below command to restart Chatwoot services
# sudo systemctl restart chatwoot.target
Congratulations! You have successfully installed Chatwoot.
For additional help and useful information, we recommend you to check the official Chatwoot website.